
Inside My NiSi Filter Kit: The Landscape Kit and the 1 to 9 Stop Variable ND Creator Kit
I have been shooting with NiSi filters for years now, first as a customer and now proudly as a NiSi UK Ambassador. In my latest YouTube video I break down the exact filters I reach for on almost every shoot, the NiSi Landscape Kit and the NiSi 1 to 9 Stop Variable ND Creator Kit, and why these two kits between them cover nearly everything I need out in the field.
You can watch the full video here: https://youtu.be/QonJK8M0OD8
Why I Became a NiSi UK Ambassador
I did not become a NiSi Ambassador because a brand asked me to say nice things. I became one because these are genuinely the filters that live in my bag on every shoot, from quiet coastal sunrises to full day film productions. Being an Ambassador means I get early access to new releases and honest conversations with the team behind the glass, so when I recommend something in a video, it is because I have used it, not because I was told to.
You can read my full NiSi UK Ambassador profile here, where I talk through my gear bag, how I got into photography growing up on the Jurassic Coast, and my favourite shot taken with NiSi filters, a blue hour long exposure of Venus over the Cobb in Lyme Regis.
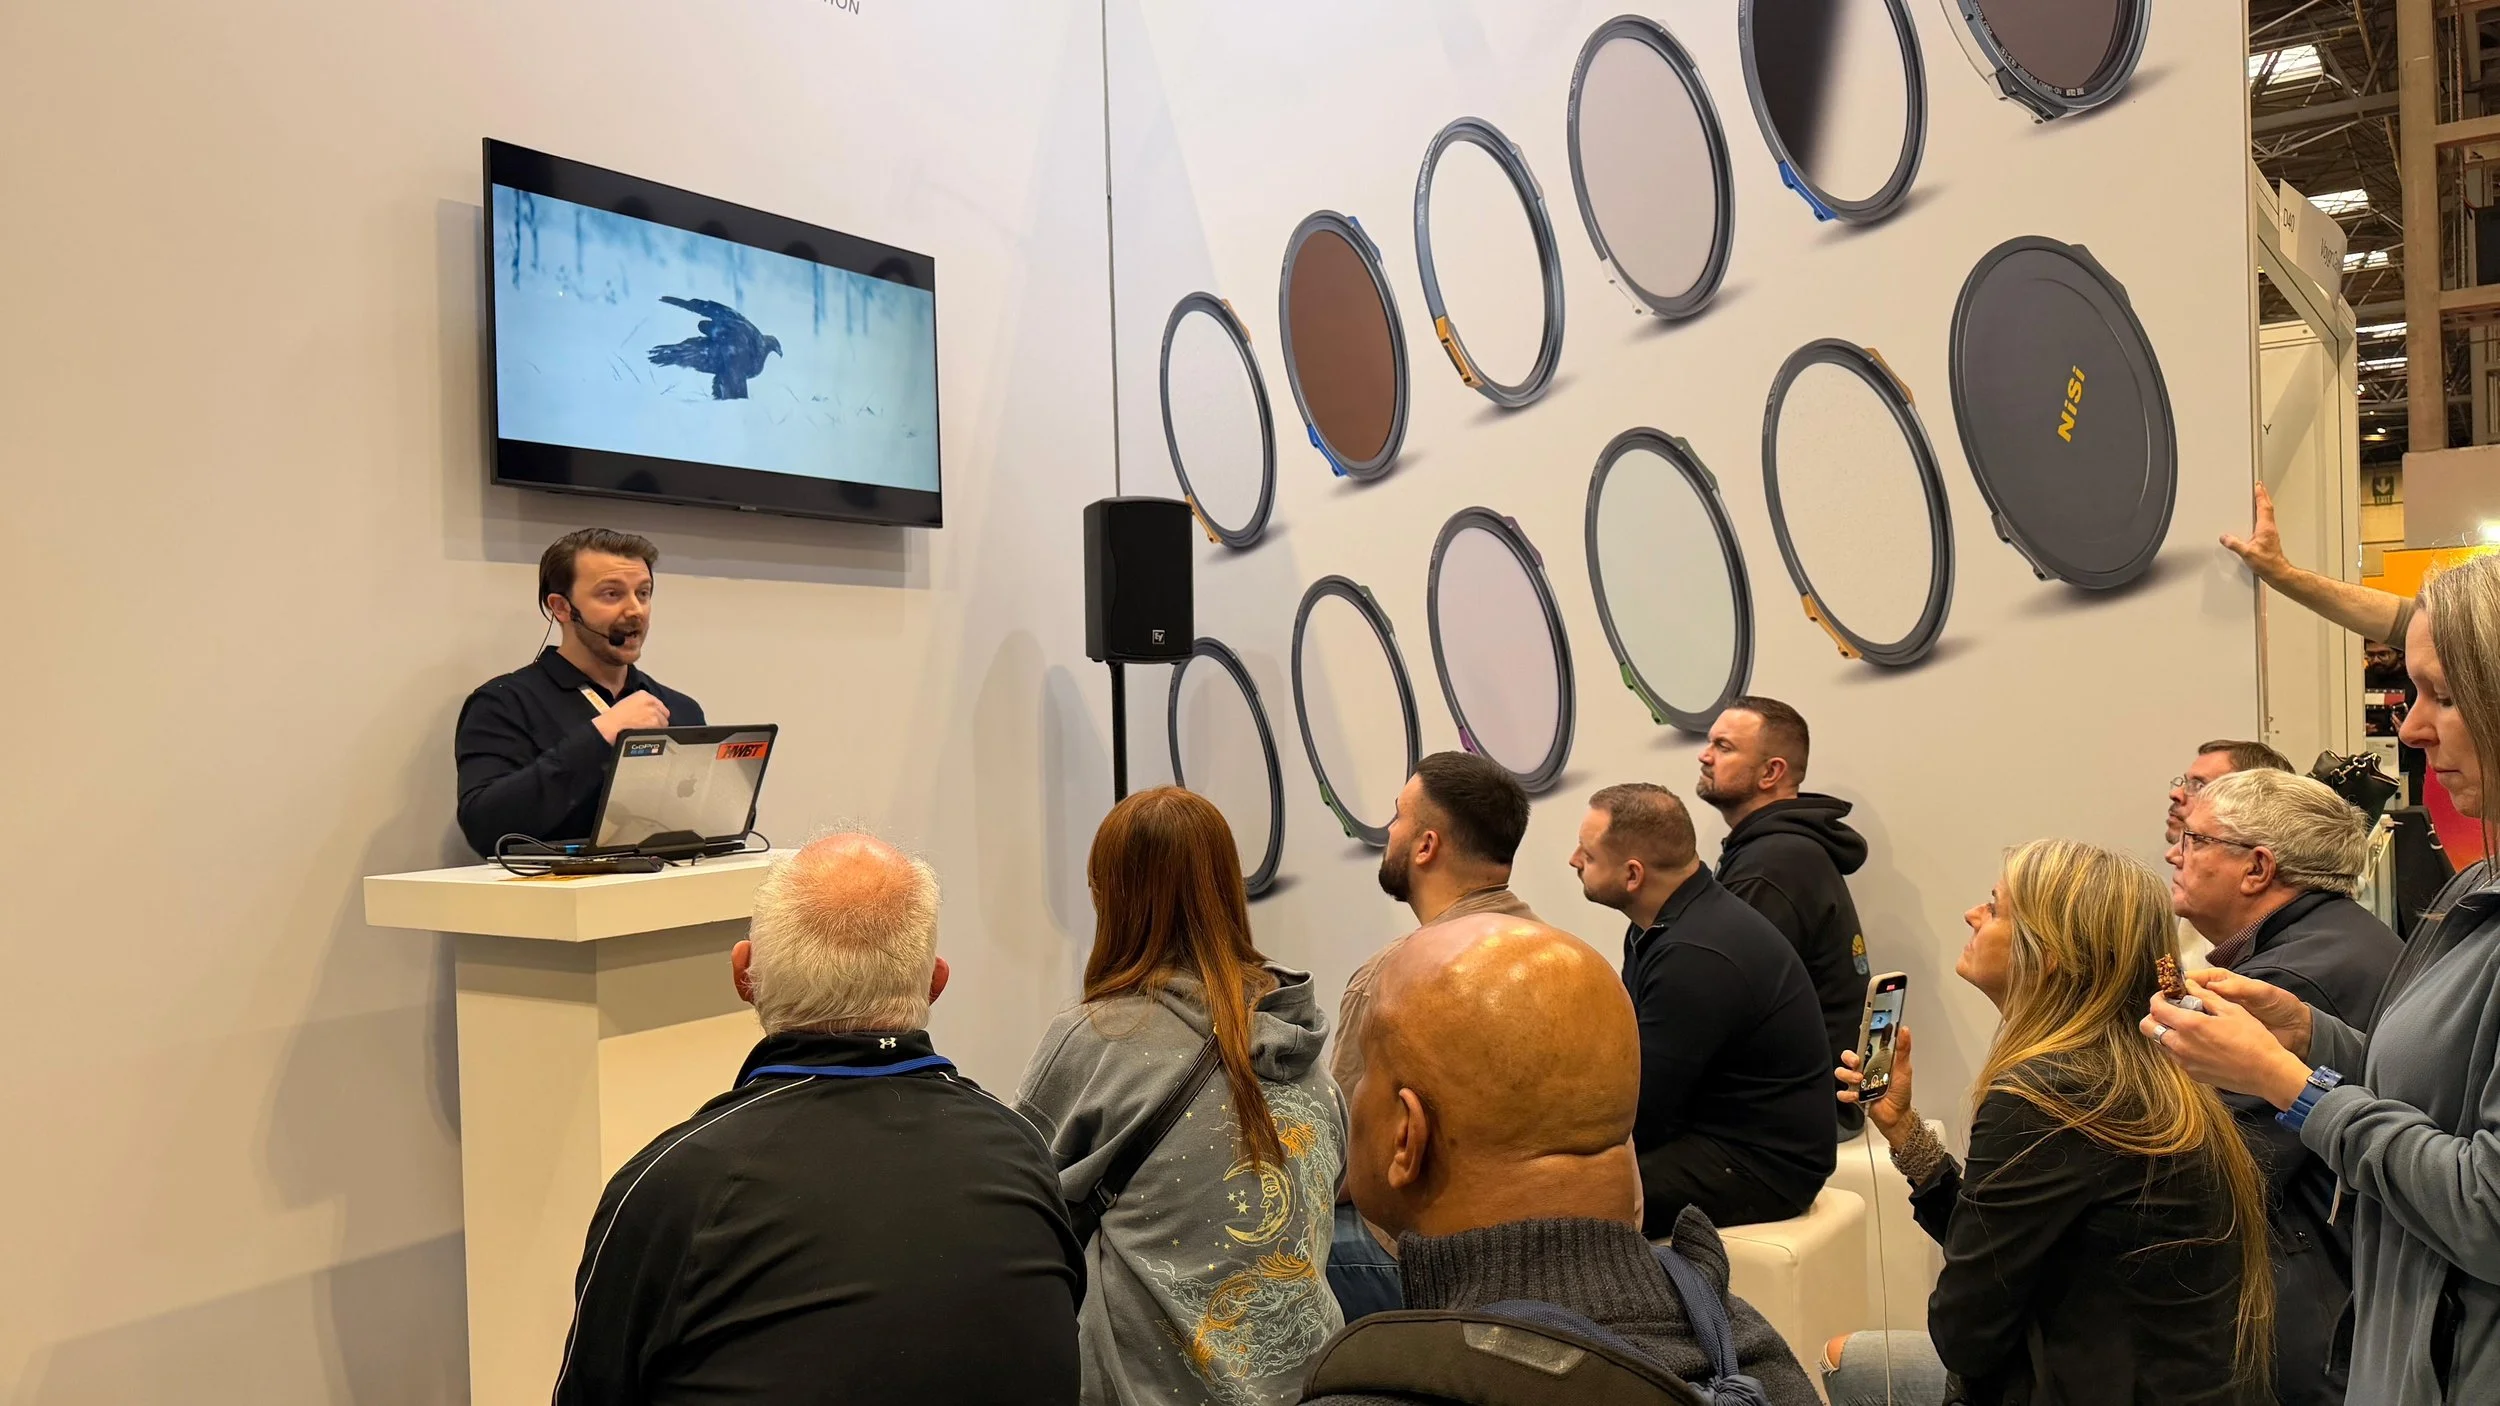
Me talking at The Photography show in Birmingham for NiSi
The NiSi Landscape Kit
The Landscape Kit is built around NiSi's JetMag Pro magnetic system, and it is the kit I reach for most often when I am shooting stills.
What is inside:
FS ND 3 Stop filter (ND8)
FS ND 6 Stop filter (ND64)
FS ND 10 Stop filter (ND1000)
True Color CPL polarising filter
JetMag Pro adapter rings sized to fit your lens
Front and back caps and a protective pouch
Each filter uses NiSi's True Color coating, so you get accurate colour with no unwanted colour cast, which matters hugely when you are trying to match footage or images later in the edit. The 3, 6 and 10 stop range covers everything from a gentle slow down of moving water through to full daylight long exposures where you want clouds to streak and the sea to turn to mist.
The part that changed how I work is the magnetic mount itself. Instead of screwing a filter on and off, you simply snap it into place, and NiSi's locking design keeps it secure even in wind or when you are moving quickly between compositions. The frame is also ultra slim, so you can stack two filters on a wide lens without picking up heavy vignetting, something that used to be a real headache with older filter systems.
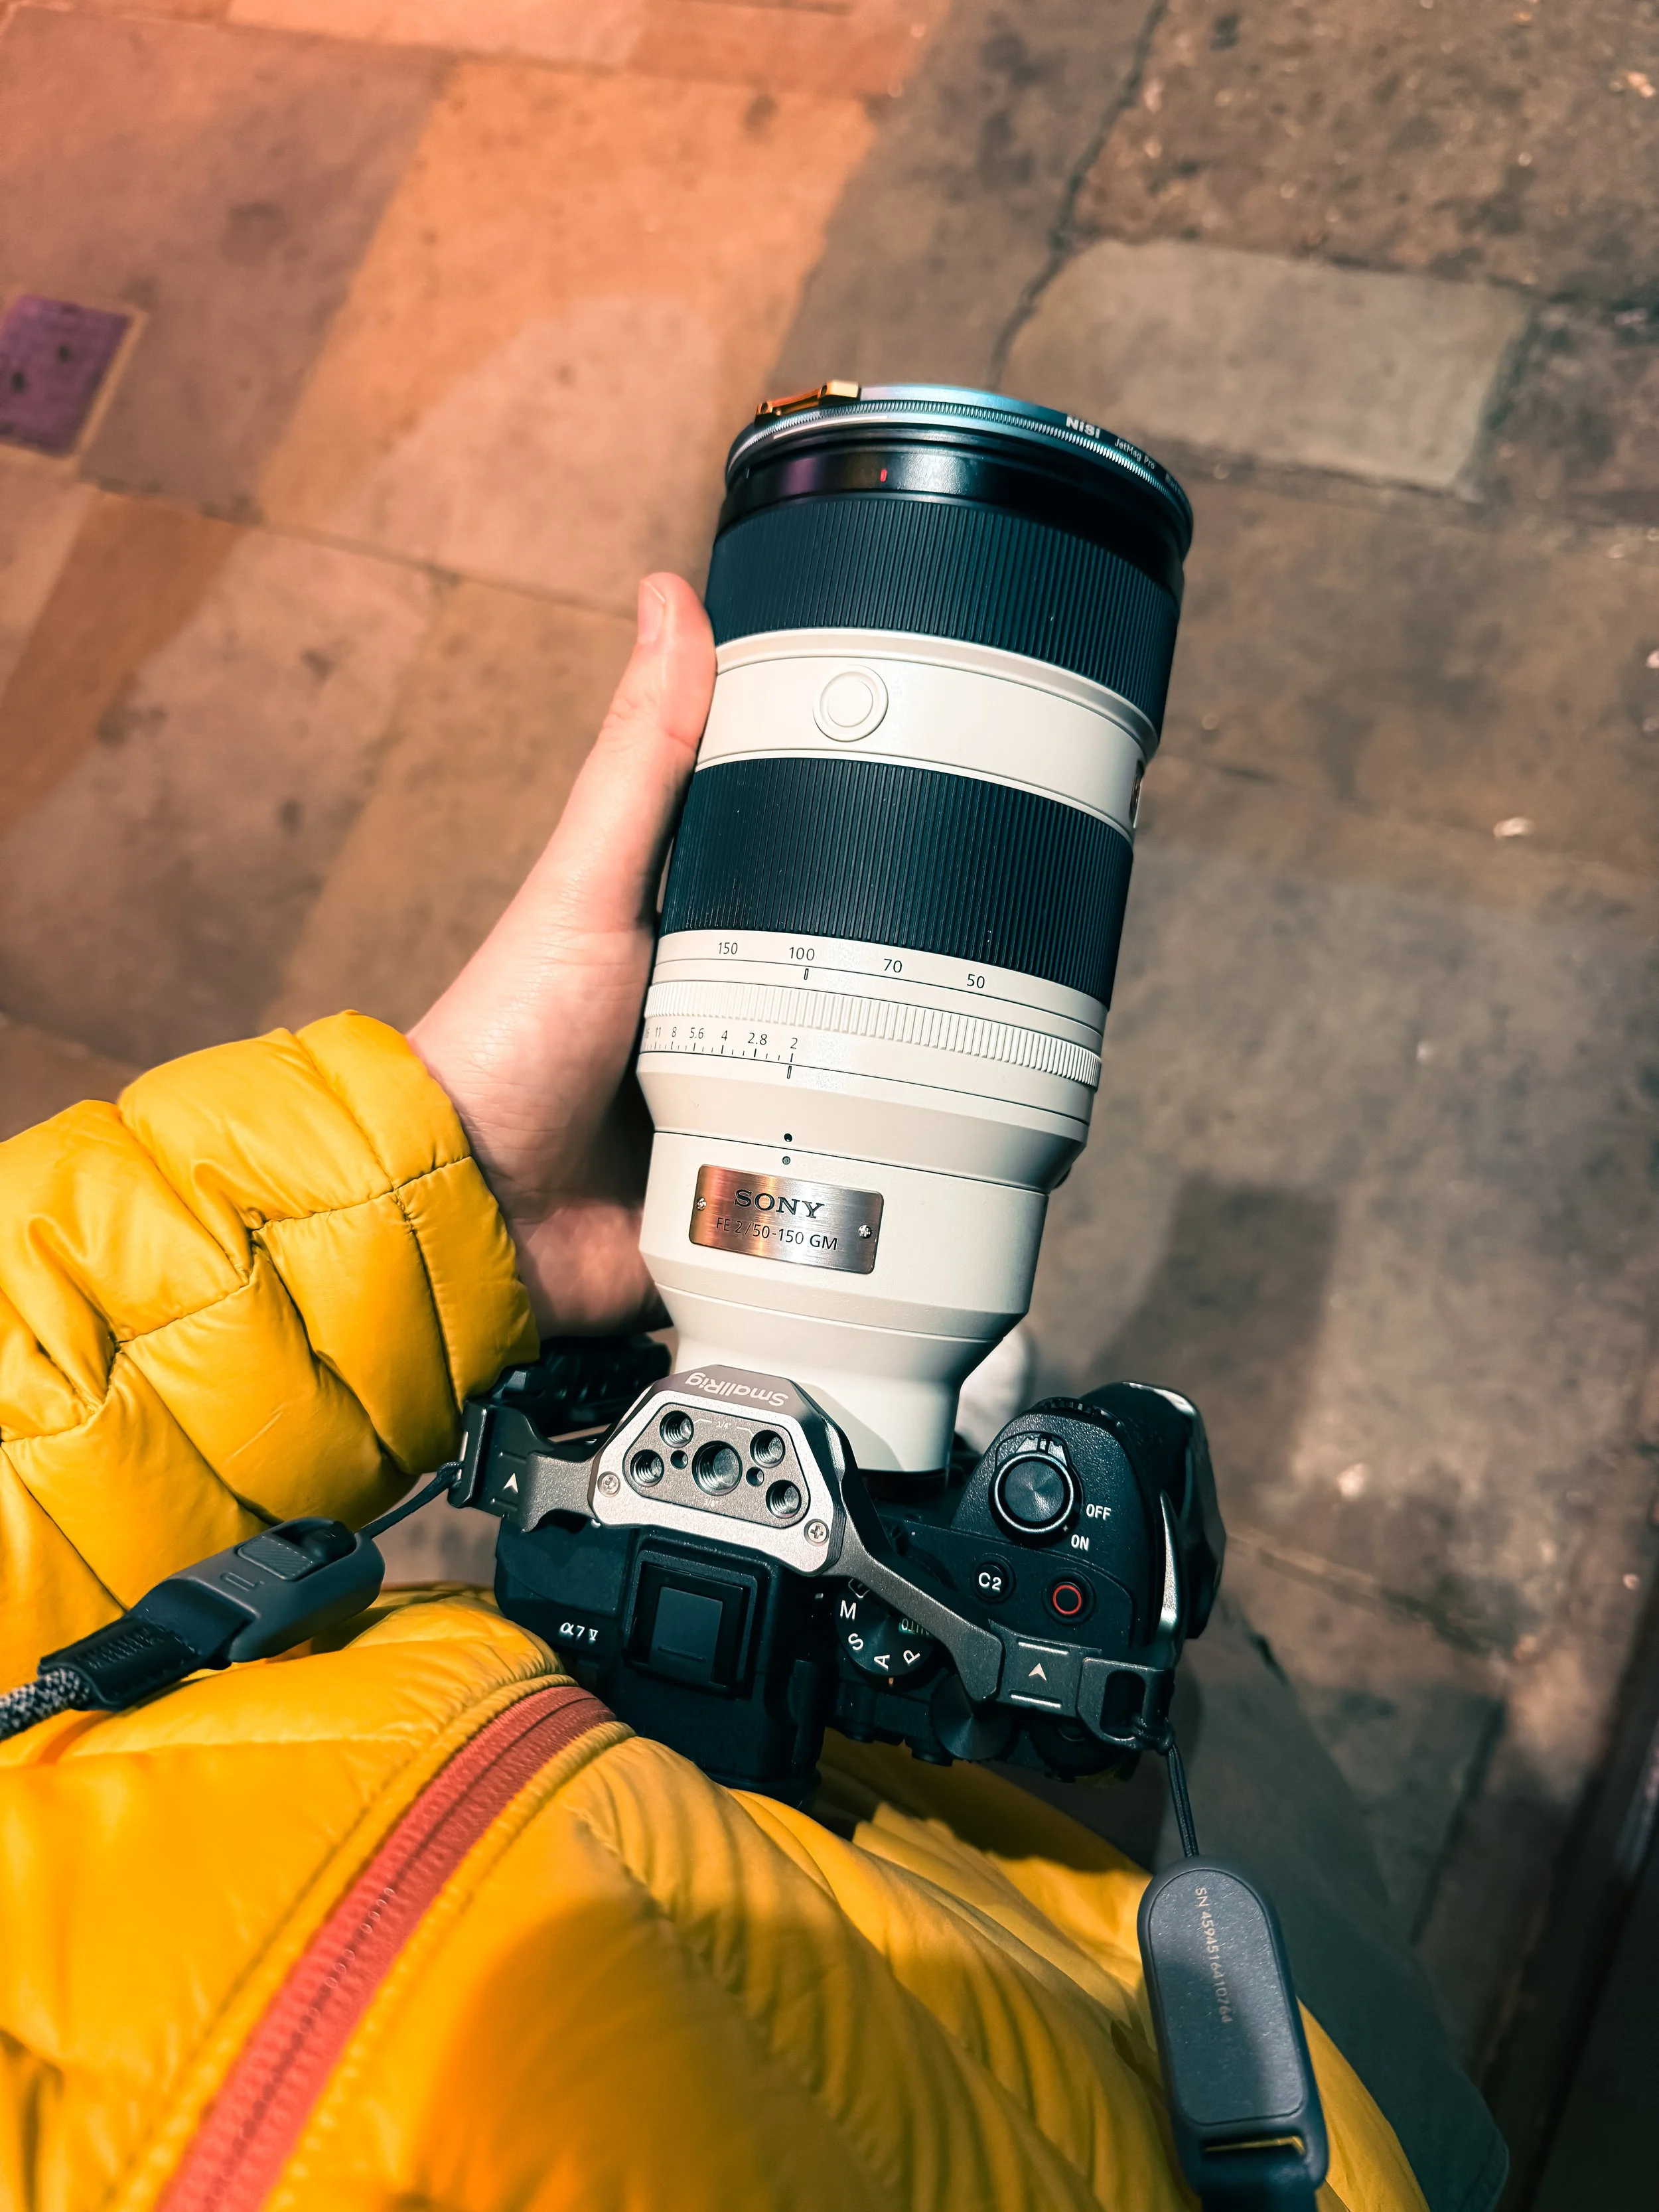
Dream lens with the JetMag ¼ Black Mist
You can pick up the Landscape Kit through NiSi UK, and my code Kapur-Discount will save you some money at checkout.
The NiSi 1 to 9 Stop Variable ND Creator Kit
If the Landscape Kit is my stills kit, the Creator Kit is what comes out the moment I pick up a camera to film.
What is inside:
JetMag Pro True Color Variable ND, 1 to 5 stop (ND2 to ND32)
JetMag Pro FS ND, 4 stop
1/8 Black Mist filter
Front and back caps and a protective caddy pouch
The Variable ND on its own gives you 1 to 5 stops of adjustment with a simple twist, which is perfect for keeping your shutter speed locked to your frame rate as light changes through the day. Stack the included 4 stop FS ND on top and you get a full 5 to 9 stop range, so you can keep filming wide open even in harsh midday sun without reaching for a completely different filter.
There are a couple of details in this kit that I think are genuinely clever. First, there are built in hard stops at 1 stop and 5 stops on the Variable ND ring, so you cannot accidentally over rotate and introduce the dreaded X pattern that ruins so much variable ND footage. Second, once you have set your exposure, you can rotate the whole filter assembly to dial in polarisation, cutting glare off water, glass and foliage without touching your ND setting at all.
Then there is the 1/8 Black Mist filter, which is where this kit earns the word Creator in its name. It softens harsh digital sharpness and gently blooms your highlights, giving footage a subtle, filmic quality that is perfect for interviews, portraits and any scene where you want a bit of cinematic warmth rather than a clinical, ultra sharp look.
If this kit sounds like the one for you, use my code Kapur-Discount at NiSi UK to save yourself some money on it.
How I Use Both Kits Together
In practice, these two kits split naturally along stills and video lines. For landscape photography I want fixed, repeatable stops, so the 3, 6 and 10 stop filters from the Landscape Kit do the job. The moment I switch to filming, I want continuous control as the light shifts, plus the option to soften the image, so the Variable ND Creator Kit takes over.
Because everything in the JetMag Pro range shares the same magnetic mount, swapping between the two kits mid shoot takes seconds rather than minutes. That alone has changed how quickly I can move between photo and video setups on location.
Where to Buy NiSi Filters in the UK
Both kits, along with the full JetMag Pro range, are available directly through NiSi UK at nisioptics.co.uk.
If you want to pick up either the Landscape Kit or the 1 to 9 Stop Variable ND Creator Kit, use my discount code Kapur-Discount at NiSi UK checkout to save yourself some money. It all adds up.
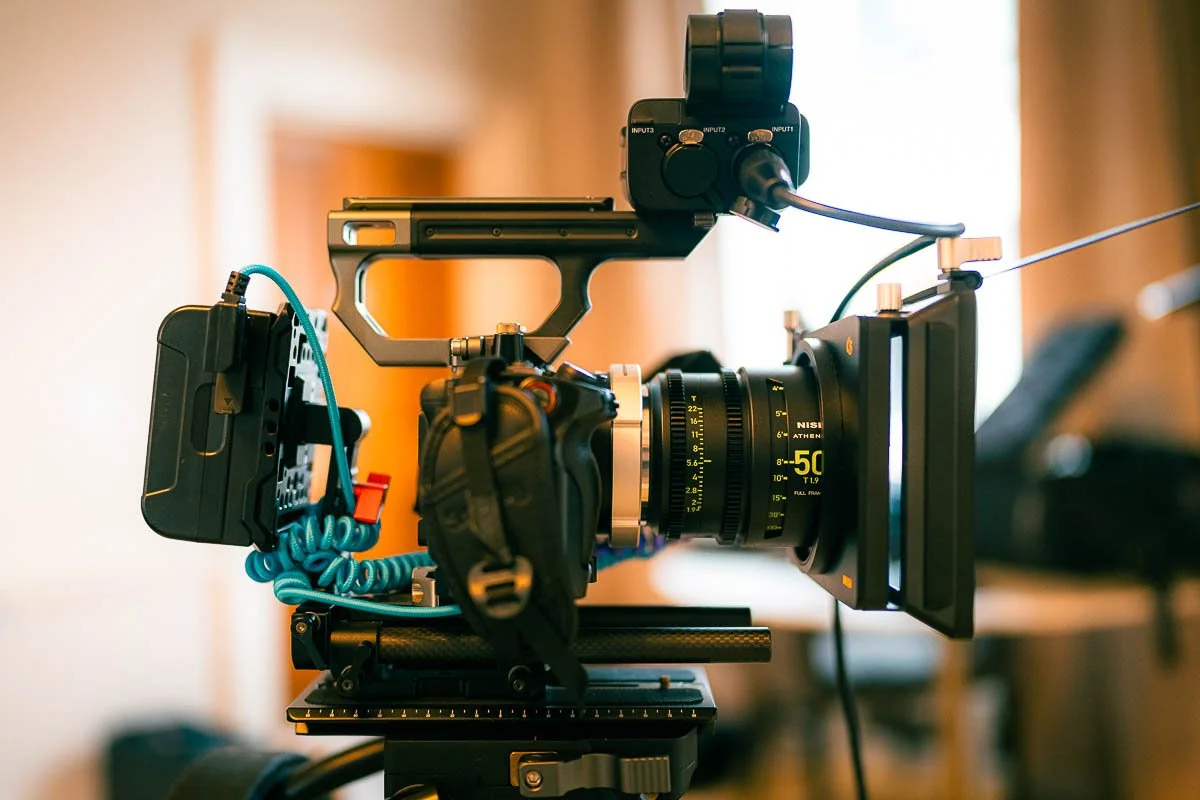
C5 Matte Box!
Final Thoughts
Filters are one of those pieces of kit that quietly make or break a shoot, and after years of testing different systems, the NiSi JetMag Pro Landscape Kit and Creator Kit are the two I keep coming back to. One gives me precise, repeatable control for stills, the other gives me flexible, on the fly control for video, and together they cover almost every situation I find myself in as a working photographer and videographer.
Watch the full breakdown in the video linked above, and if you have any questions about which NiSi kit is right for your camera and lens setup, drop them in the comments.
Thanks for reading!
👉 See more of my work at www.benkapur.com
